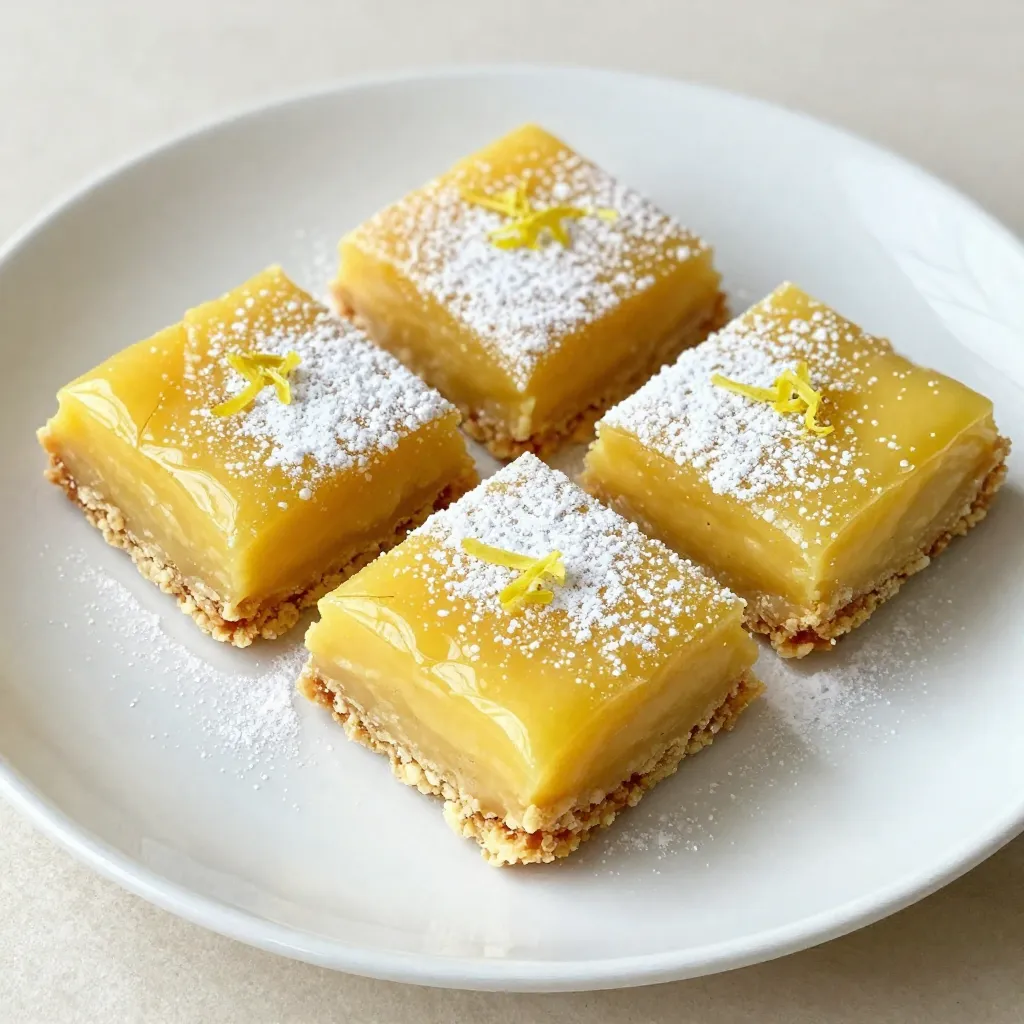
Are you ready to enjoy a treat that packs a tart punch? Classic lemon bars are your answer! With a buttery crust and zesty filling, these bars are perfect for any occasion. Whether you’re a beginner or an expert in the kitchen, I’ll guide you step-by-step to create this delightfully tangy dessert. Grab your lemons, and let’s make some magic happen!
Why I Love This Recipe
- Bright and Zesty Flavor: The combination of fresh lemon juice and zest gives these bars a refreshing and tangy taste that is perfect for any occasion.
- Easy to Make: This recipe is straightforward and requires minimal ingredients, making it perfect for both beginner and experienced bakers.
- Perfect Texture: The crust provides a delightful crunch, while the lemon filling is smooth and creamy, creating a wonderful contrast in each bite.
- Chill for Flavors: Chilling the bars allows the flavors to meld beautifully, enhancing the overall taste and making them even more enjoyable.
Ingredients
Here’s what you need to make classic lemon bars. Gather these ingredients for a bright, zesty treat.
– 1 cup all-purpose flour
– 1/2 cup powdered sugar
– 1/2 cup unsalted butter, softened to room temperature
– 1/4 teaspoon salt
– 2 large eggs
– 1 cup granulated sugar
– 1/4 cup freshly squeezed lemon juice (about 2 medium lemons)
– Zest of 1 medium lemon
– 1/2 teaspoon baking powder
– Additional powdered sugar for dusting
Each ingredient plays a key role. The flour gives the bars structure. Powdered sugar adds sweetness and helps with the crust. Butter makes everything rich and smooth. Salt balances out the flavors. Eggs help bind the filling. Granulated sugar sweetens the lemon mix. Fresh lemon juice and zest bring bright, tangy flavor. Baking powder helps the filling rise slightly. Finally, dusting with more powdered sugar adds a lovely touch.
Using fresh ingredients makes your lemon bars taste even better. Choose ripe, juicy lemons for the best flavor. Enjoy the process of gathering these ingredients. Each step brings you closer to a delicious treat!

Step-by-Step Instructions
Preheat the Oven
Set your oven to 350°F (175°C). This is the perfect temperature for baking lemon bars. Prepare a 9×9-inch baking pan by greasing it lightly. You can also line it with parchment paper. This makes cleanup easy.
Make the Crust
In a medium bowl, mix together the softened butter, all-purpose flour, powdered sugar, and salt. Use a fork or pastry cutter to combine. You want the mix to look like coarse crumbs. Aim for small pea-sized clumps. This texture gives the crust a nice base.
Bake the Crust
Press the crust mixture evenly into the bottom of your prepared pan. Bake it in the preheated oven for 15-20 minutes. You want it to turn a light golden brown. This step is key for flavor.
Prepare the Lemon Filling
While the crust bakes, make the lemon filling. In a different bowl, whisk the eggs, granulated sugar, lemon juice, lemon zest, and baking powder together. Mix until it’s smooth. The texture is important for a good bite.
Combine and Final Baking
Remove the crust from the oven when it’s done. Pour the lemon filling over the hot crust. Spread it evenly with a spatula if needed. This ensures every bite has flavor.
Final Baking
Put the pan back in the oven. Bake it for another 20-25 minutes. The filling should look set and not jiggle in the center. This shows it’s ready.
Cooling and Serving
After baking, let the bars cool completely on a wire rack. Once cool, place the pan in the fridge for at least 2 hours. This chilling time helps the flavors meld. Cut the bars into squares after they chill. Dust the tops lightly with powdered sugar for a sweet finish. Enjoy!
Tips & Tricks
Achieving the Perfect Crust
To get the right texture for your crust, mix the butter well. You want it soft but not melted. Combine it with flour, powdered sugar, and salt. The mix should look like coarse crumbs. This texture is key for a great base. Press it down firmly in the pan to form a solid layer.
Choosing the right butter is also important. I recommend using unsalted butter for a balanced flavor. It allows you to control the saltiness of your bars. Always use butter at room temperature. This helps it blend better, leading to a smooth crust.
Lemon Filling Perfection
The ratio of zest to juice matters a lot. Use the zest of one medium lemon and 1/4 cup of fresh juice. This mix gives your filling that bright, tangy taste. It’s the heart of your lemon bars.
For a smooth mixture, whisk the eggs and sugar first. Add lemon juice, zest, and baking powder next. Blend it well until everything is combined. This step helps create a creamy filling that sets perfectly.
Serving Suggestions
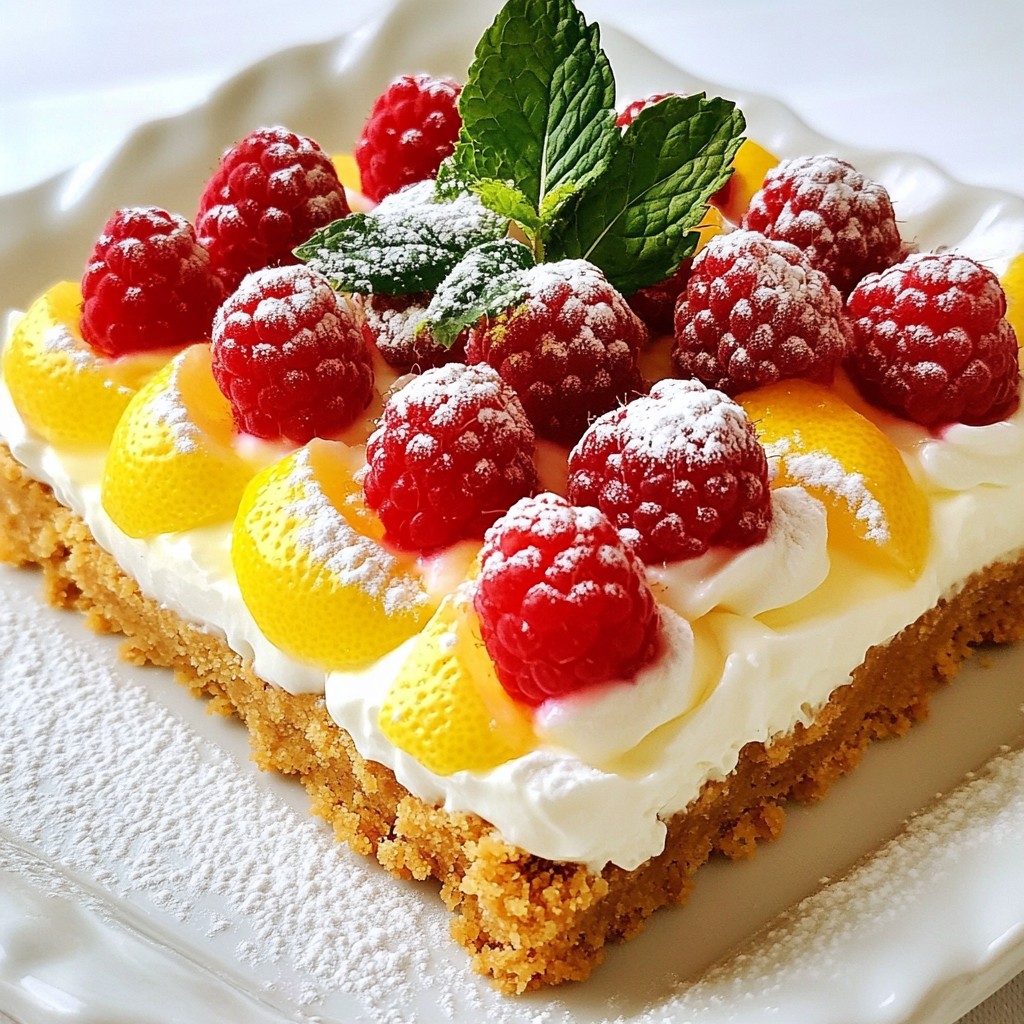
Garnishing your lemon bars adds a nice touch. You can dust them lightly with powdered sugar. This makes them look pretty and adds sweetness. Consider adding lemon slices or mint leaves for color.
These lemon bars pair well with tea or coffee. The bright taste of lemon contrasts nicely with rich drinks. Serve them at a gathering or as a sweet treat after lunch. Your guests will love the fresh, zesty flavor!
Pro Tips
- Use Fresh Lemons: Freshly squeezed lemon juice and zest elevate the flavor of your bars significantly, providing a vibrant zesty kick.
- Chill for Best Results: Chilling the bars for at least 2 hours after baking allows the flavors to meld and the texture to set perfectly, making them easier to cut.
- Check for Doneness: Ensure the filling is set by checking for jiggle in the center; it should be firm but not overbaked to maintain a smooth texture.
- Garnish Elegantly: A light dusting of powdered sugar and fresh mint leaves adds a beautiful touch that enhances both presentation and flavor.
Variations
Gluten-Free Lemon Bars
To make gluten-free lemon bars, you can use almond flour or coconut flour. These flours work well as substitutes. When using almond flour, you may need to add an extra egg for binding. If you choose coconut flour, use less flour than the recipe calls for, as it absorbs more moisture.
Adjusting baking times is also important. Keep an eye on your bars while they bake. Gluten-free bars may bake faster or slower than regular ones. Start checking for doneness five minutes early.
Vegan Lemon Bars
For vegan lemon bars, replace eggs with flaxseed meal or applesauce. Mix one tablespoon of flaxseed meal with three tablespoons of water. Let it sit until it thickens. For butter, use coconut oil or vegan butter. Both options will keep the bars rich and tasty.
To ensure flavor depth, add a bit of vanilla extract. This small touch adds a warm note to your bars. You can also increase the lemon zest to enhance the citrus flavor.
Flavor Variations
You can get creative with flavor variations. Try adding lavender for a floral twist. Simply use dried lavender buds and mix them into the filling. Another option is to add ginger, which gives a spicy kick.
Infusing with herbs can elevate your lemon bars even more. Consider adding fresh mint or basil to the filling. These herbs add a refreshing layer of taste. Experiment with different flavors to find your favorite combination!
Storage Info
Best Way to Store
To keep your lemon bars fresh, use airtight containers. You can wrap them in plastic wrap, too. This helps prevent them from drying out. Always store them at room temperature if you eat them within a few days.
Refrigeration Tips
If you want to keep them longer, place them in the fridge. Lemon bars last about 5 to 7 days when chilled. They can taste even better after a day in the fridge, as flavors meld together.
Freezing Instructions
You can freeze lemon bars for later use. First, cut them into squares. Then, wrap each piece in plastic wrap. Place the wrapped bars in a freezer bag. They can stay fresh for up to three months.
When you’re ready to eat them, thaw them in the fridge overnight. You can also leave them at room temperature for a couple of hours. Dust with powdered sugar before serving for an extra touch of sweetness.
FAQs
What is the best way to cut lemon bars?
To cut lemon bars, you need a sharp knife. First, chill the bars well. Use a ruler to mark even squares. Wipe the knife with a damp cloth after each cut. This helps keep edges clean and neat.
Can I use bottled lemon juice?
You can use bottled lemon juice, but fresh juice gives better flavor. Fresh lemons have bright taste and aroma. Bottled juice may lack the same zest. For the best lemon bars, I recommend using fresh juice.
How long do lemon bars need to chill?
Lemon bars should chill for at least two hours. Chilling helps the filling set properly. It also allows flavors to meld together. This step is key for the perfect texture.
Why are my lemon bars watery?
Watery lemon bars often result from undercooking or too much juice. Make sure to bake until filling is set. Use the recommended amount of lemon juice. If you follow these tips, your bars will be perfectly firm.
Can I make lemon bars ahead of time?
Yes, you can make lemon bars ahead of time. They store well in the fridge for up to five days. For best taste, make them one day before serving. Just remember to dust with powdered sugar before serving.
This guide walked you through making delicious lemon bars, from ingredients to storage. You learned how to mix, bake, and chill for the best results. Experiment with variations like gluten-free or vegan options for added fun. Remember to store your bars properly to keep them fresh. With these tips, you’ll impress everyone with your tasty treats. Enjoy baking and sharing these zesty delight