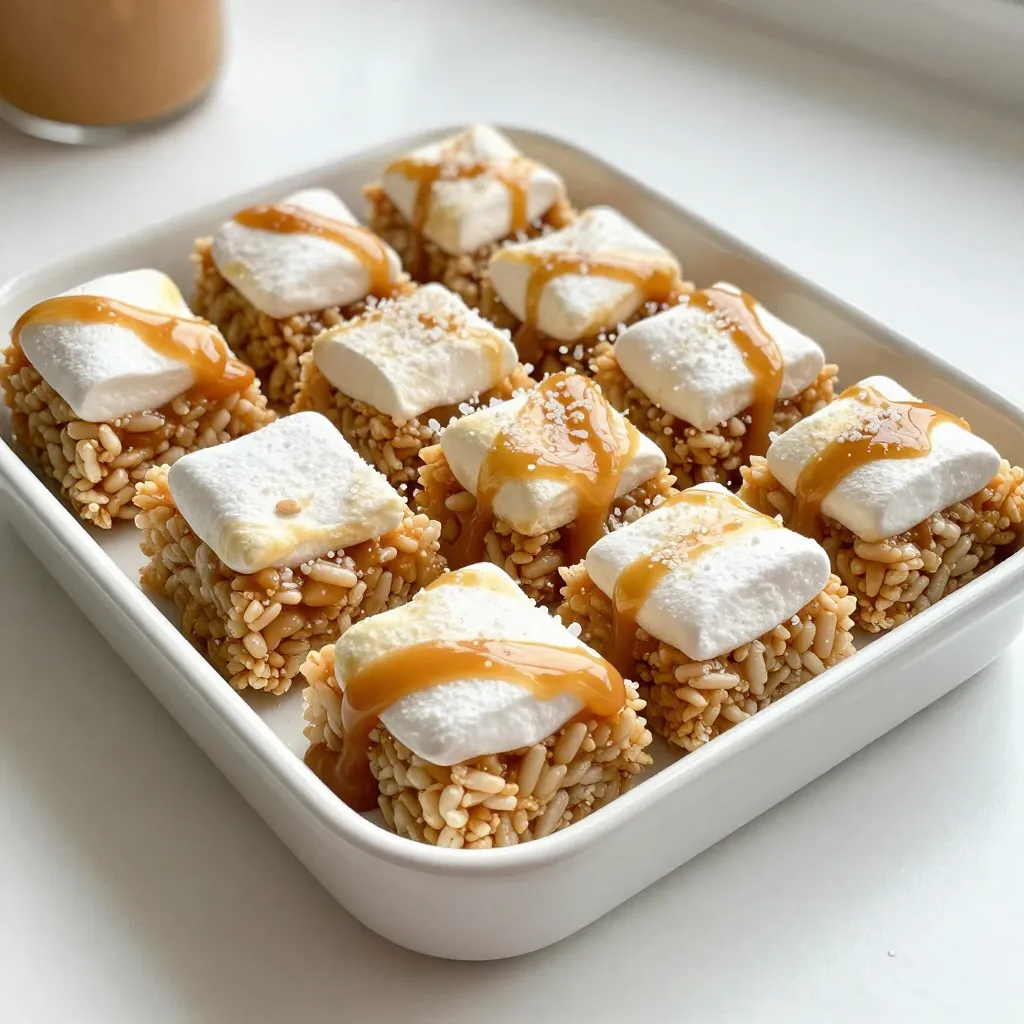
If you crave a sweet and salty treat that’s super easy to make, you’re in the right place! My Salted Caramel Rice Krispie Treats are a luscious spin on the classic snack. Imagine the crunch of Rice Krispies, the gooeyness of marshmallows, and a kick of sea salt that makes your taste buds dance. I promise these delicious bites will become a favorite for kids and adults alike. Let’s dive in!
Why I Love This Recipe
- Irresistible Flavor: The combination of salted caramel and peanut butter creates a sweet and savory treat that’s hard to resist.
- Quick and Easy: This recipe requires minimal time and effort, making it perfect for last-minute gatherings or busy days.
- Kid-Friendly Fun: Making these treats is a fun activity for kids, allowing them to get involved in the kitchen!
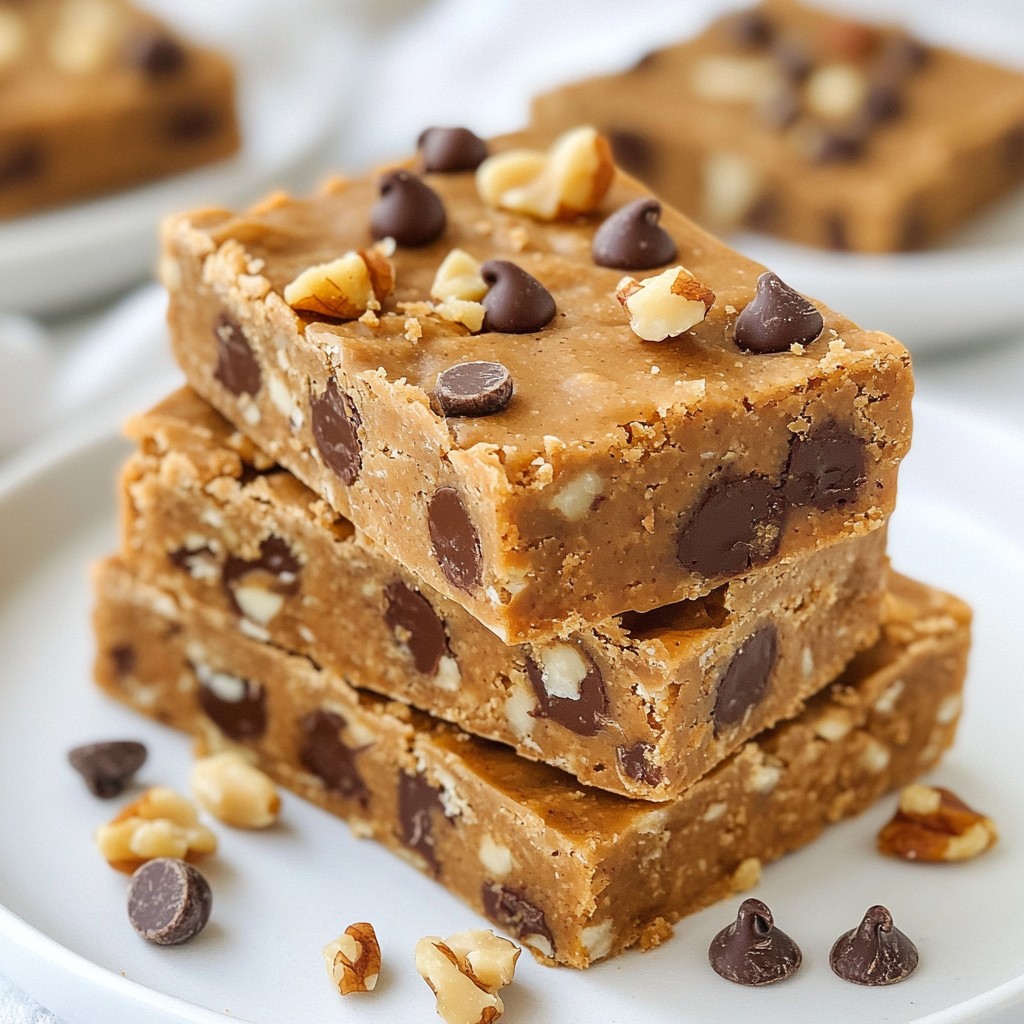
- Customizable: You can easily add your favorite mix-ins like chocolate chips or nuts for a personalized twist.
Ingredients
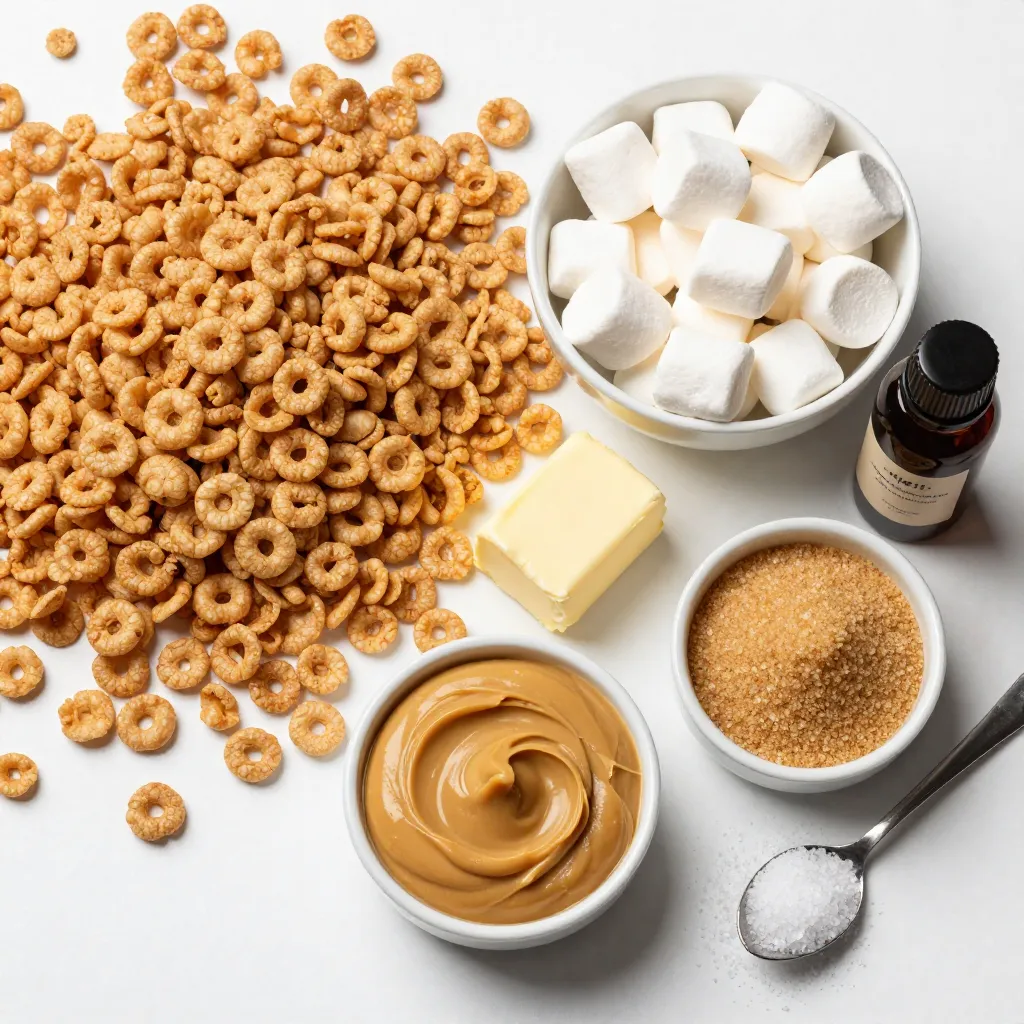
To make salted caramel rice Krispie treats, gather these simple ingredients:
– 6 cups Rice Krispies cereal
– 1 cup mini marshmallows
– 1/2 cup unsalted butter (1 stick)
– 1 cup creamy peanut butter
– 1 cup brown sugar, packed tightly
– 1 teaspoon vanilla extract
– 1 teaspoon sea salt (plus additional for finishing)
These ingredients come together to create a sweet and salty delight. The Rice Krispies give the treats their signature crunch. The mini marshmallows add a fluffy texture that blends perfectly with the creamy peanut butter. Brown sugar provides a deep caramel flavor, while the sea salt enhances all the other tastes. The vanilla extract ties everything together, making each bite feel special.
When you pick your ingredients, choose fresh ones for the best flavor. This recipe is not just easy; it also brings comfort and joy.
Step-by-Step Instructions
Preparation Steps
– Step 1: Melt the Butter
Start by placing 1/2 cup of unsalted butter in a large saucepan. Heat it over medium heat. Stir it often until it melts completely. This step is key for smooth treats.
– Step 2: Combine Sugar
Once your butter is melted, add 1 cup of packed brown sugar. Stir this mixture well. Let it bubble gently for about 2 to 3 minutes. This creates a rich base for your treats.
– Step 3: Stir in Peanut Butter
Now, add 1 cup of creamy peanut butter to the bubbling mix. Stir until it becomes smooth and creamy. This should take about 1 to 2 minutes. The peanut butter adds a nice flavor.
– Step 4: Add Flavorings
Remove your saucepan from the heat. Quickly mix in 1 teaspoon of vanilla extract and 1 teaspoon of sea salt. This will enhance the sweet flavor of your treats.
– Step 5: Incorporate Marshmallows
Next, add 1 cup of mini marshmallows. Stir continuously until they melt and blend into the mixture. This makes your treats gooey and delicious.
– Step 6: Combine with Cereal
In a large mixing bowl, place 6 cups of Rice Krispies cereal. Pour the warm marshmallow mixture over the cereal. Gently stir with a spatula until every piece is coated. This is where the magic happens!
– Step 7: Prepare the Baking Dish
Lightly grease a 9×13 inch baking dish with butter or cooking spray. This will help prevent sticking. Transfer the Rice Krispies mixture into the dish.
– Step 8: Finish with Sea Salt
Use a spatula or your hands to press the mixture down firmly. Sprinkle an extra pinch of sea salt on top. This adds a nice burst of flavor.
– Step 9: Cool and Slice
Let your treats cool at room temperature for about 30 minutes. Once set, cut them into squares or rectangles for serving. Enjoy your delicious creation!
Tips & Tricks
Important Tips
– Achieving the perfect melt: Melt the butter on medium heat. Stir it often to avoid burning. Once melted, add the brown sugar. Let it bubble gently for 2 to 3 minutes. This step helps the sugar blend well with the butter.
– Preventing sticking in the baking dish: Use a light coating of butter or cooking spray on your baking dish. This will help the treats come out easily. You can also dampen your hands when pressing the mixture into the dish.
– Ensuring even mixing of ingredients: Fold in the marshmallows quickly after removing the pan from heat. Stir continuously until they melt into the mixture. This helps create a smooth, even blend. When mixing with Rice Krispies, use a gentle touch to avoid crushing the cereal.
Flavor Enhancements
– Options for extra toppings: Feel free to add toppings like chocolate chips or crushed nuts. Drizzling extra caramel or peanut butter on top gives a nice touch. You can also sprinkle extra sea salt for added flavor.
– Adjusting saltiness for personal preference: If you love salt, add a bit more sea salt into the mix. Just remember to taste as you go. You can always sprinkle more on top before the treats cool down.
Pro Tips
- Use Fresh Ingredients: Always opt for fresh marshmallows and peanut butter to ensure the best flavor and texture in your treats.
- Don’t Overheat the Mixture: When melting the butter and sugar, avoid cooking too long to prevent the mixture from becoming too hard.
- Press Firmly: When transferring the mixture to the baking dish, press down firmly to create a compact layer for even cutting.
- Experiment with Toppings: Feel free to drizzle melted chocolate or additional caramel sauce on top for an extra indulgent touch!
Variations
Dietary Modifications
Gluten-free alternatives
If you need a gluten-free option, use gluten-free Rice Krispies. Many brands now offer gluten-free cereal that works great. Just check the label to ensure it meets your needs.
Vegan substitutions
To make this recipe vegan, swap the butter for a plant-based version. Use coconut oil or vegan butter instead. For marshmallows, choose brands that offer vegan options. You can find them in many grocery stores or online.
Flavor Variations
Adding chocolate chips or nuts
For a fun twist, mix in chocolate chips or nuts. You can use semi-sweet or dark chocolate chips. Chopped nuts like pecans or walnuts add crunch. Stir them in before pressing the mixture into the baking dish.
Different types of cereal
Feel free to switch up the cereal! Use fruity cereals for a colorful look. Chex or even granola adds a different texture and flavor. Just ensure the cereal you pick pairs well with the sweet treats.
Storage Info
Proper Storage Techniques
To keep your salted caramel rice Krispie treats fresh, use an airtight container. This will help them stay soft and chewy. I prefer a plastic container with a tight lid. You can also wrap the treats in plastic wrap before placing them in the container. This adds an extra layer of protection.
Store them in a cool, dry place. Avoid direct sunlight or heat, as this can make them hard. If you live in a humid area, refrigeration is a good option. Just remember to let them warm up to room temperature before eating.
Shelf Life
These treats stay fresh for about one week. After that, they may lose their softness. Look for signs like a hard texture or an off smell. If the treats feel too dry or crumbly, it’s best to toss them. You want to enjoy them at their best!
FAQs
Common Questions
Can I use a different type of cereal?
Yes, you can! While Rice Krispies give a classic crunch, feel free to try other cereals. Cornflakes or crispy rice cereals work well too. Just make sure they have a similar texture.
How do I make these treats ahead of time?
You can make these treats a day or two ahead. Just store them in an airtight container. This keeps them soft and fresh. If you want, you can also freeze them. Just wrap each square tightly in plastic wrap.
What’s the best way to reheat leftovers?
Reheating can make them soft again. Place a square in the microwave for about 10 seconds. This warms them up without making them too gooey. Just watch them closely!
This post covered making tasty Rice Krispies treats. We went through the key ingredients and steps you need. I shared tips to help you get the best results. You can even explore fun variations for different diets or flavors.
Remember, these treats are simple and fun to make. With the right tips, you can enjoy a delicious snack. Enjoy your kitchen time and get creativ